
Stop the subsidence of your building extension with micropiles.
Repairing subsidence in the extension using hydraulically pressed micropiles to stop further settlement.
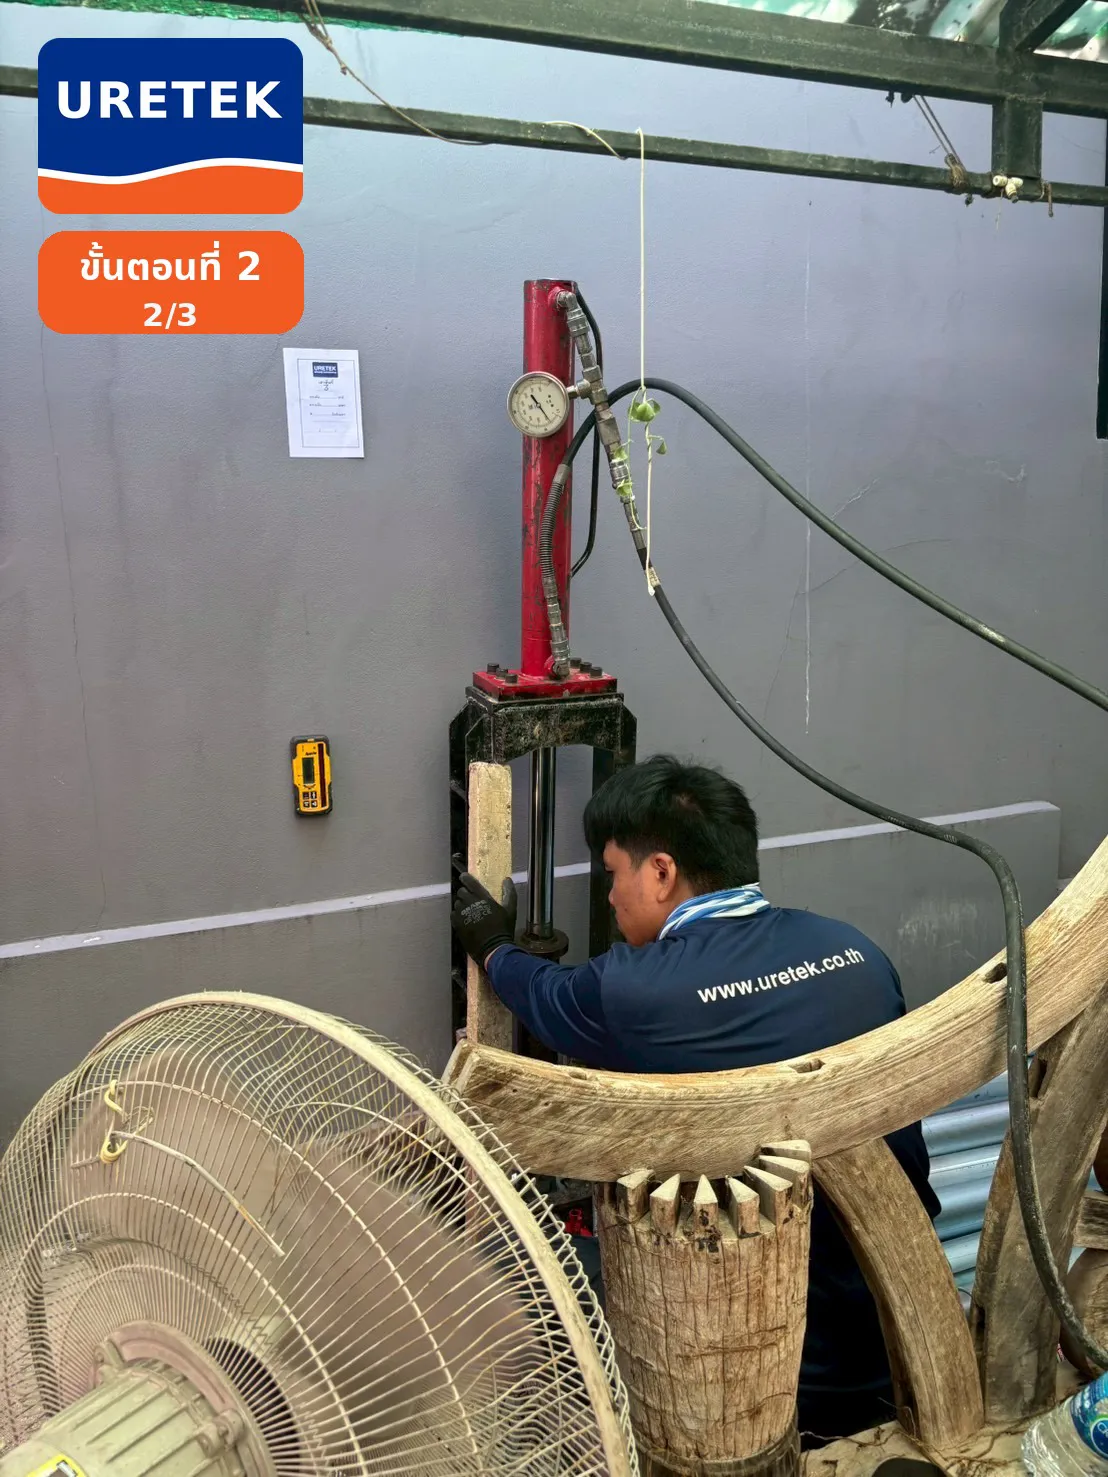
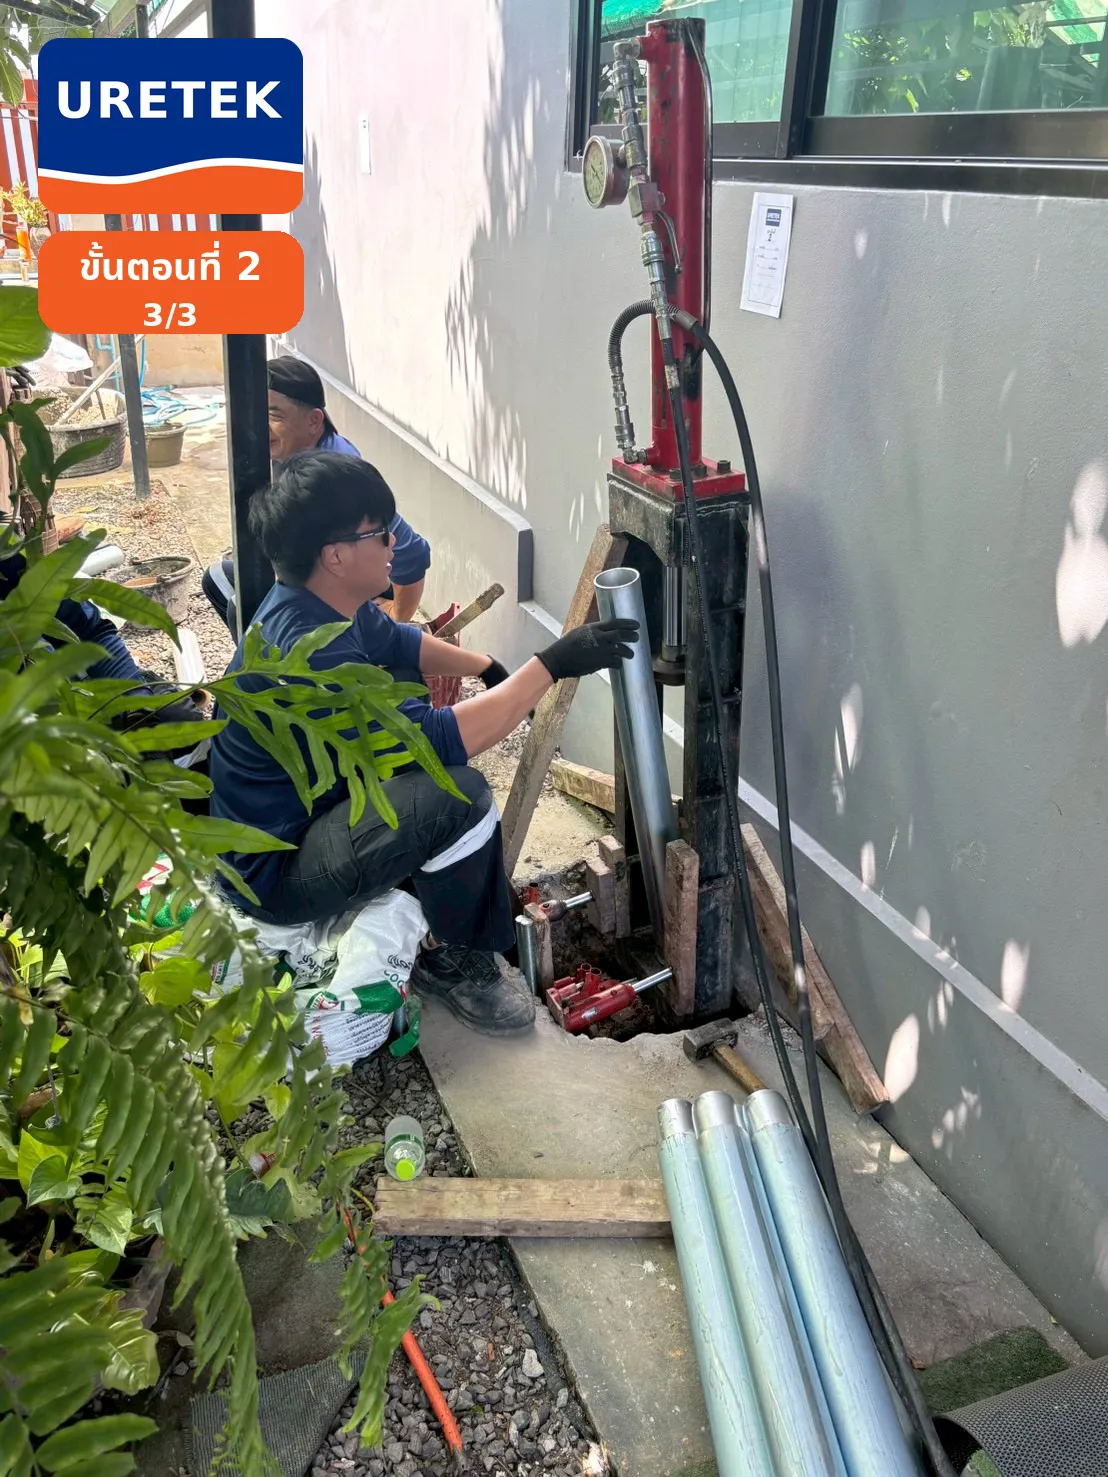
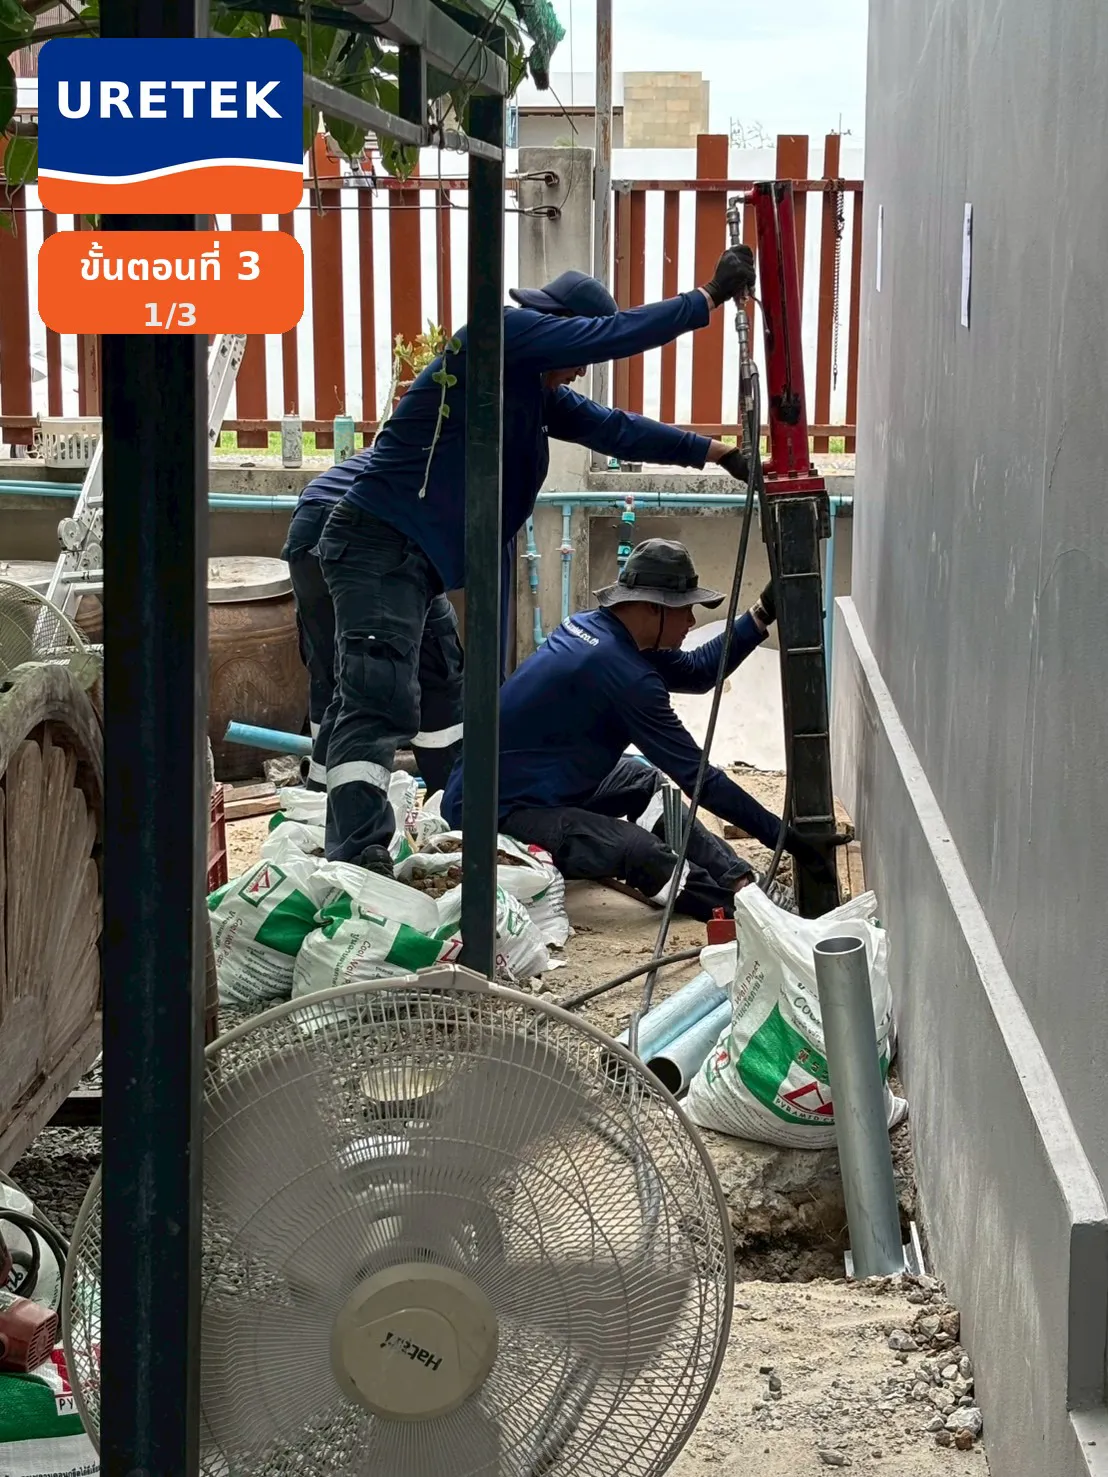
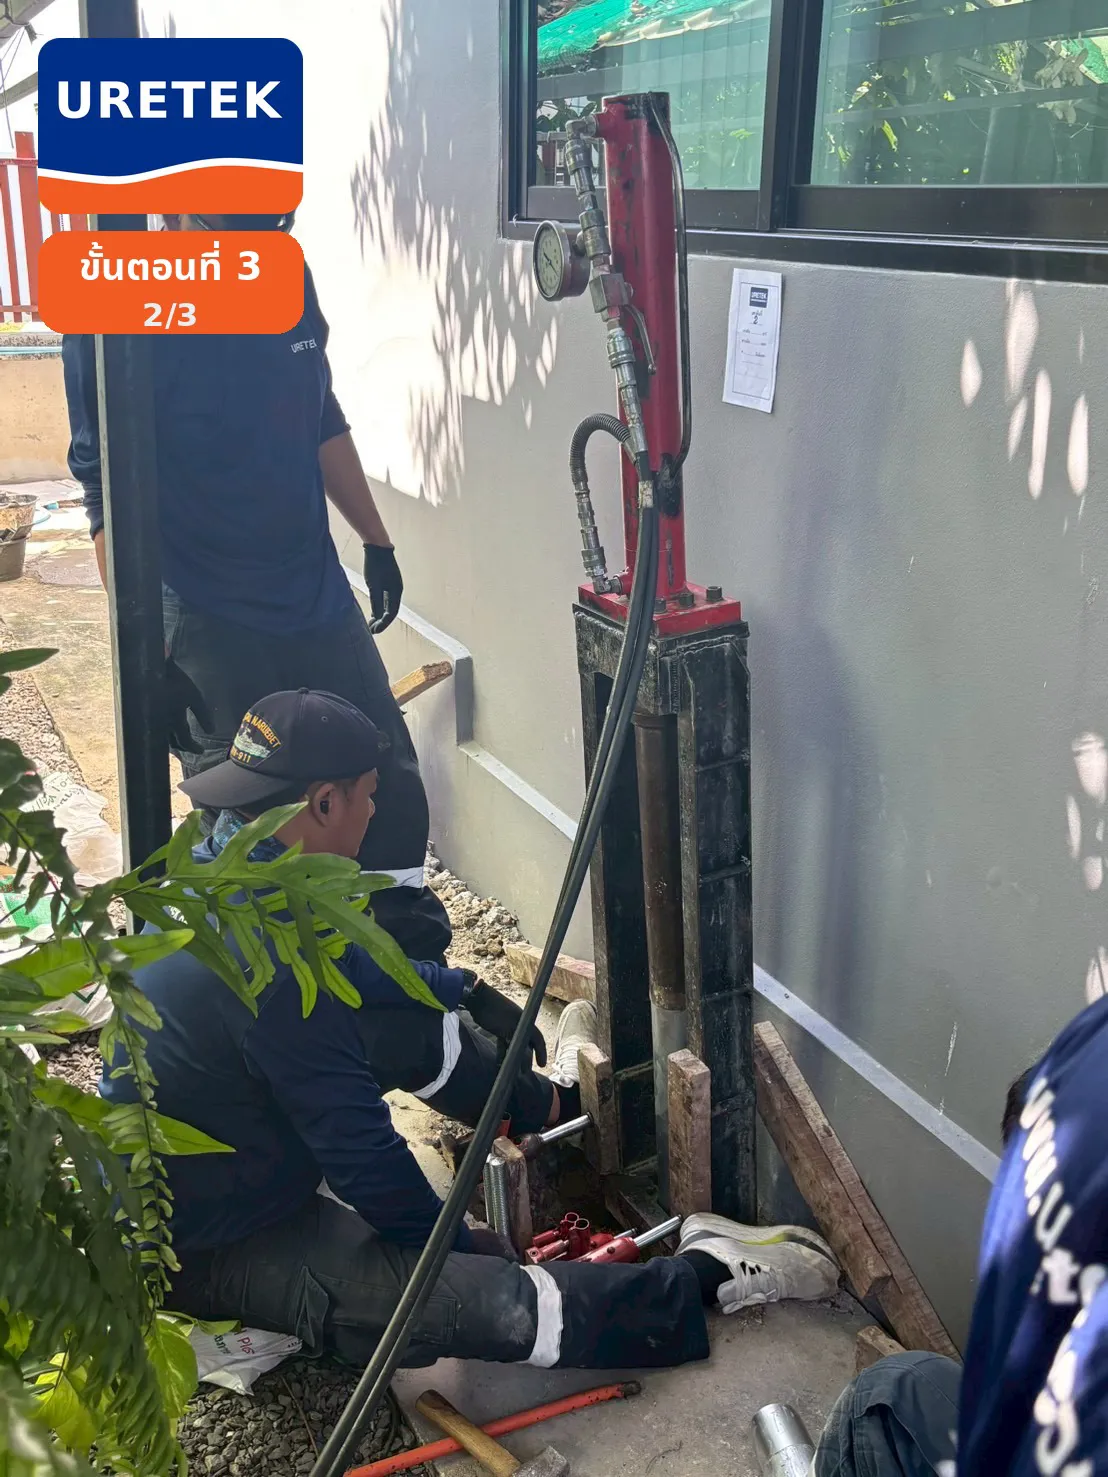
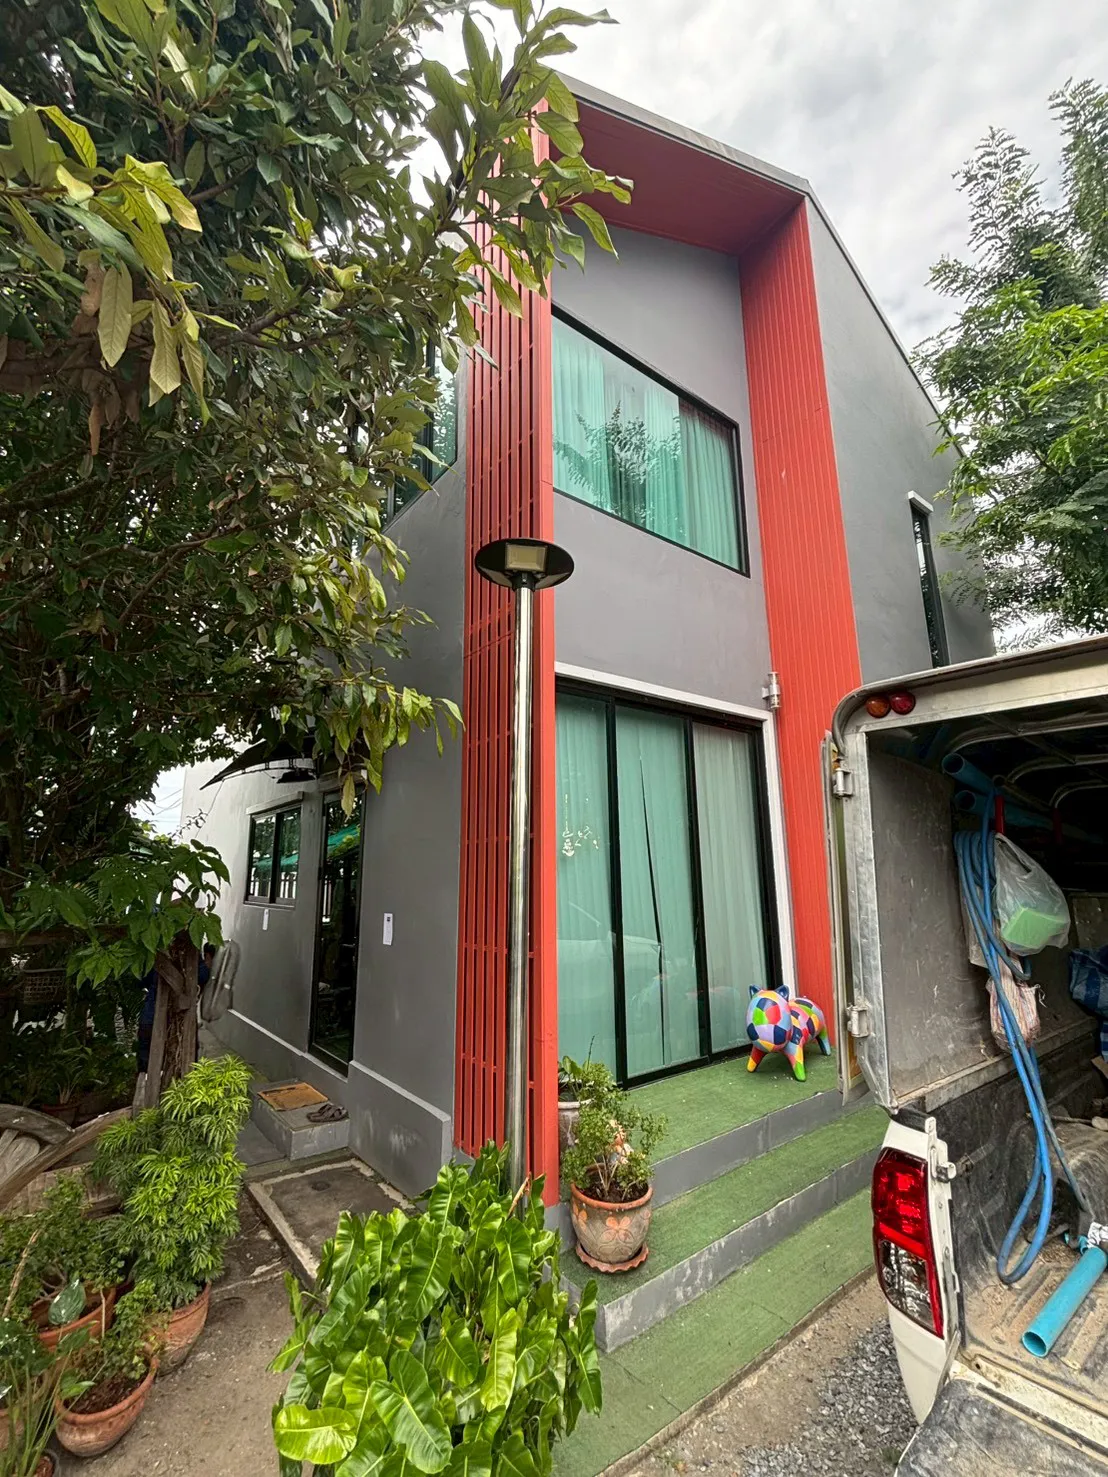
This is a real project in Ayutthaya province. It started with the client noticing subsidence in their house extension. The joint between the original house and the extension was separating, and the ground level was gradually tilting. They contacted the Uretek team to survey the site and develop a solution. They chose to use four micropiles to stop the subsidence.
We don't start by simply tackling the work; we begin by "understanding the problem." We gather detailed information about the site conditions before devising a plan to stop subsidence using hydraulically driven micropiles. These piles are driven down to the hard soil layer to support the weight of the extension and prevent future settlement. All of this can be done even in confined spaces without causing vibrations or noise that might disturb neighboring houses.
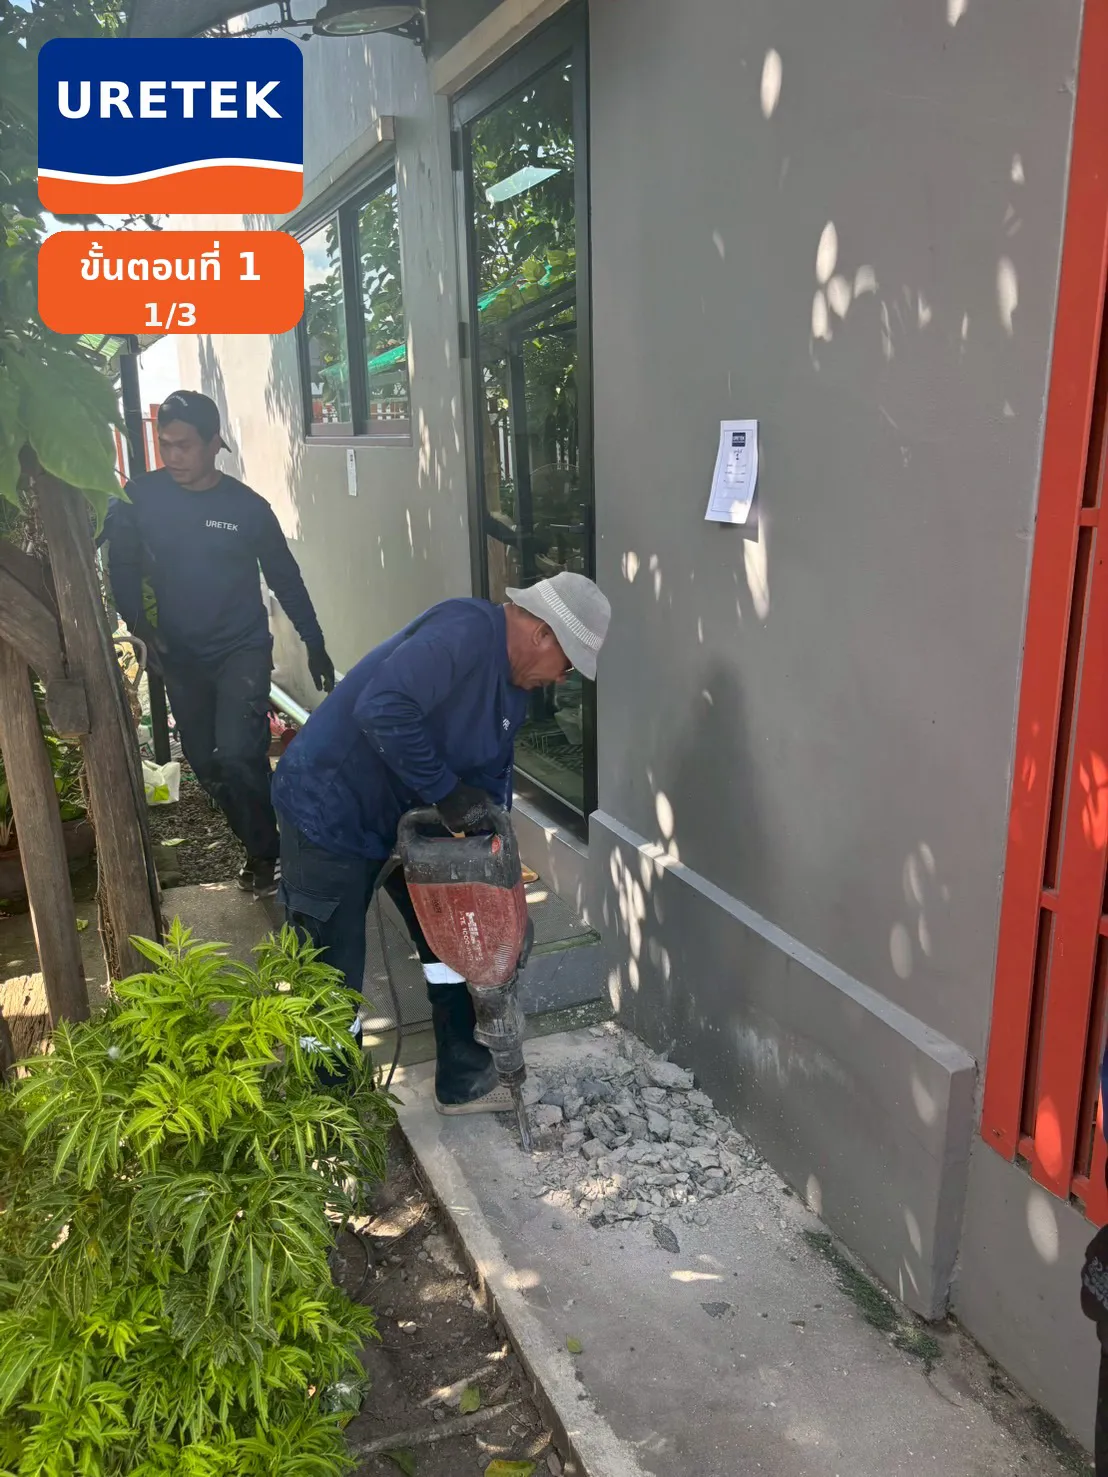
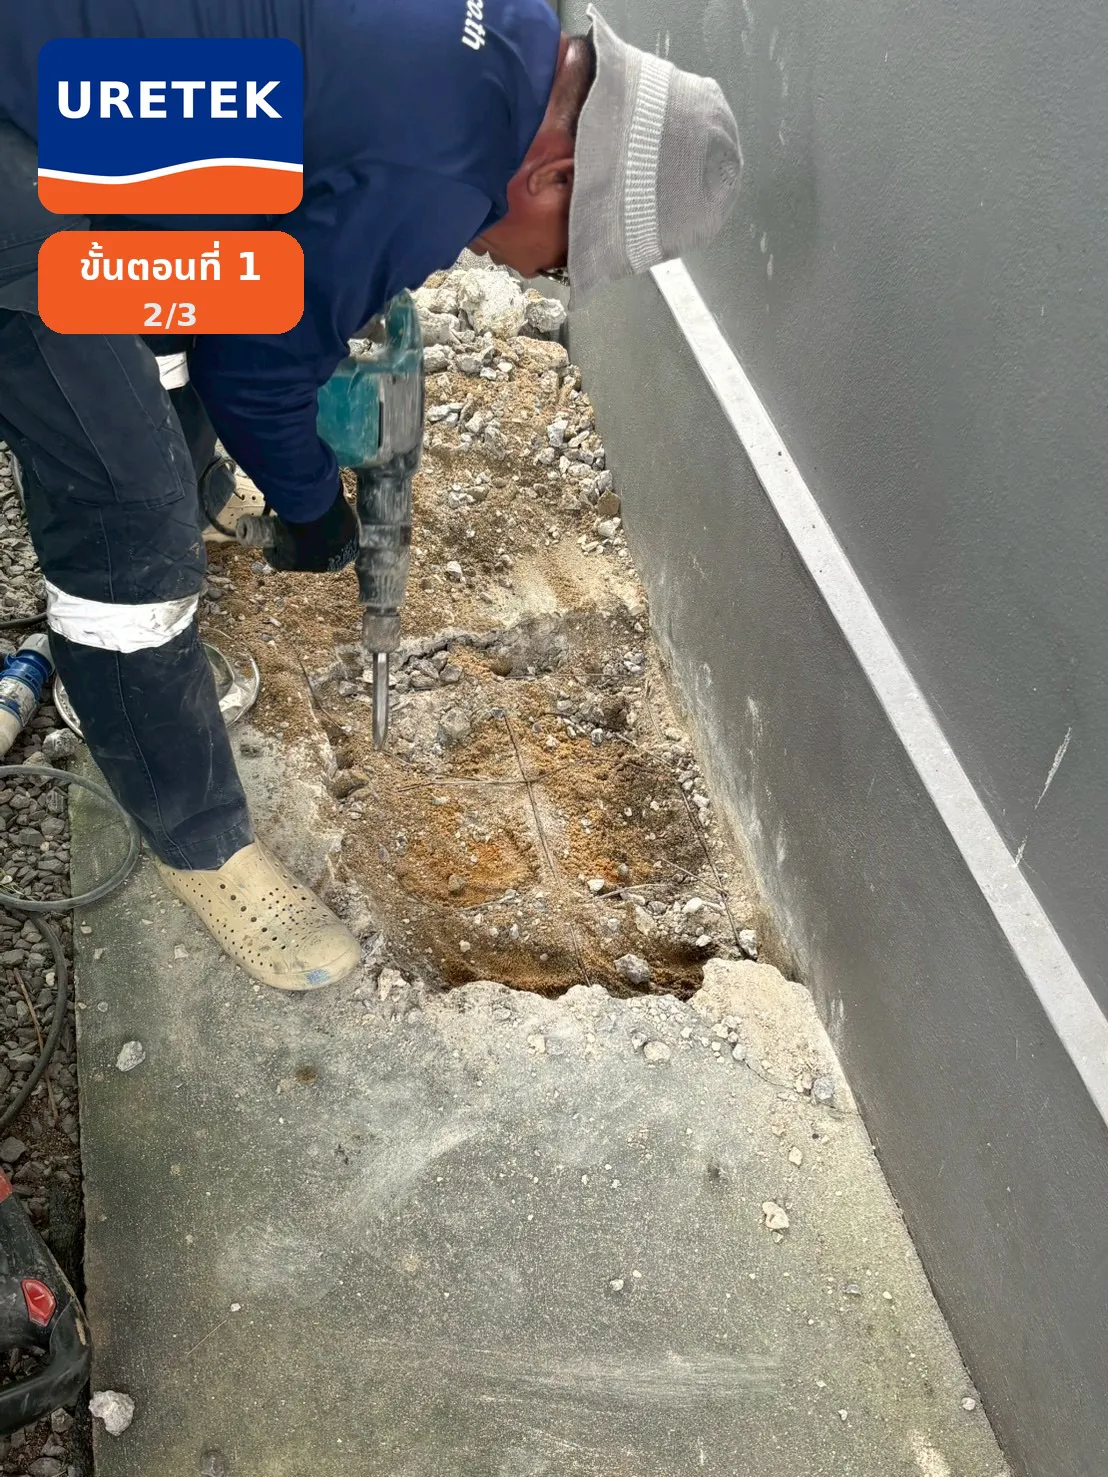
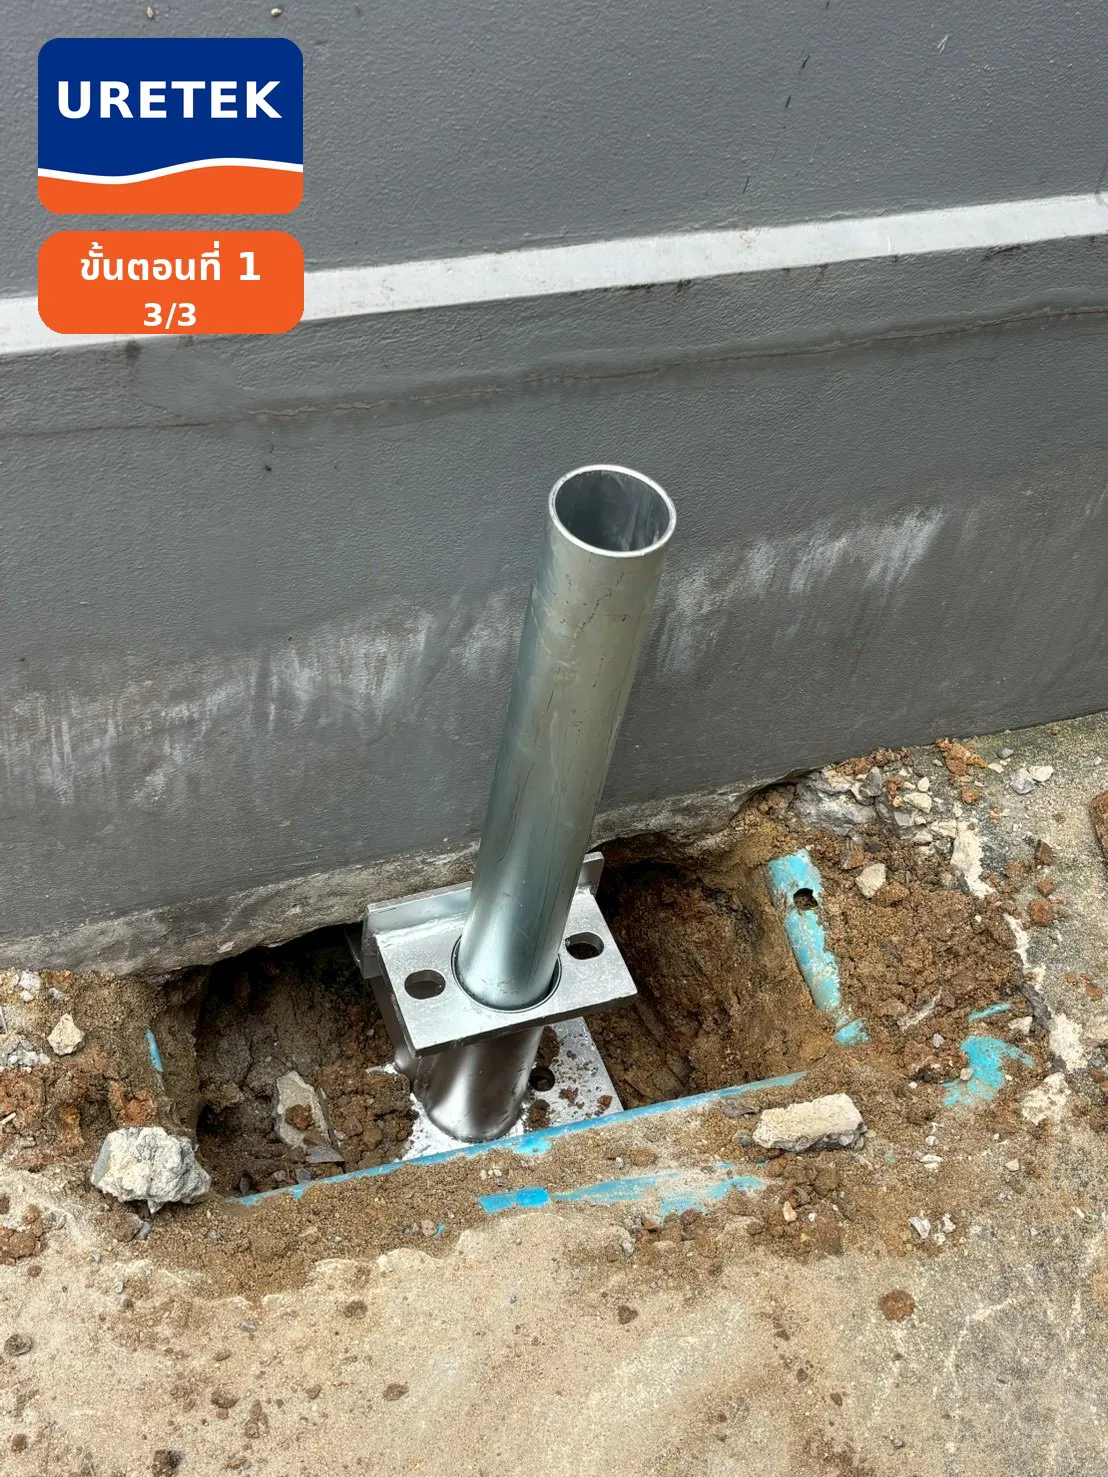
⛏️ Step 1 — Precise Excavation
The team excavates a 50 x 50 cm area beneath the foundation or beam to install the "brackets" into the structure. Every point is carefully positioned, because a correct foundation starts with the correct excavation.
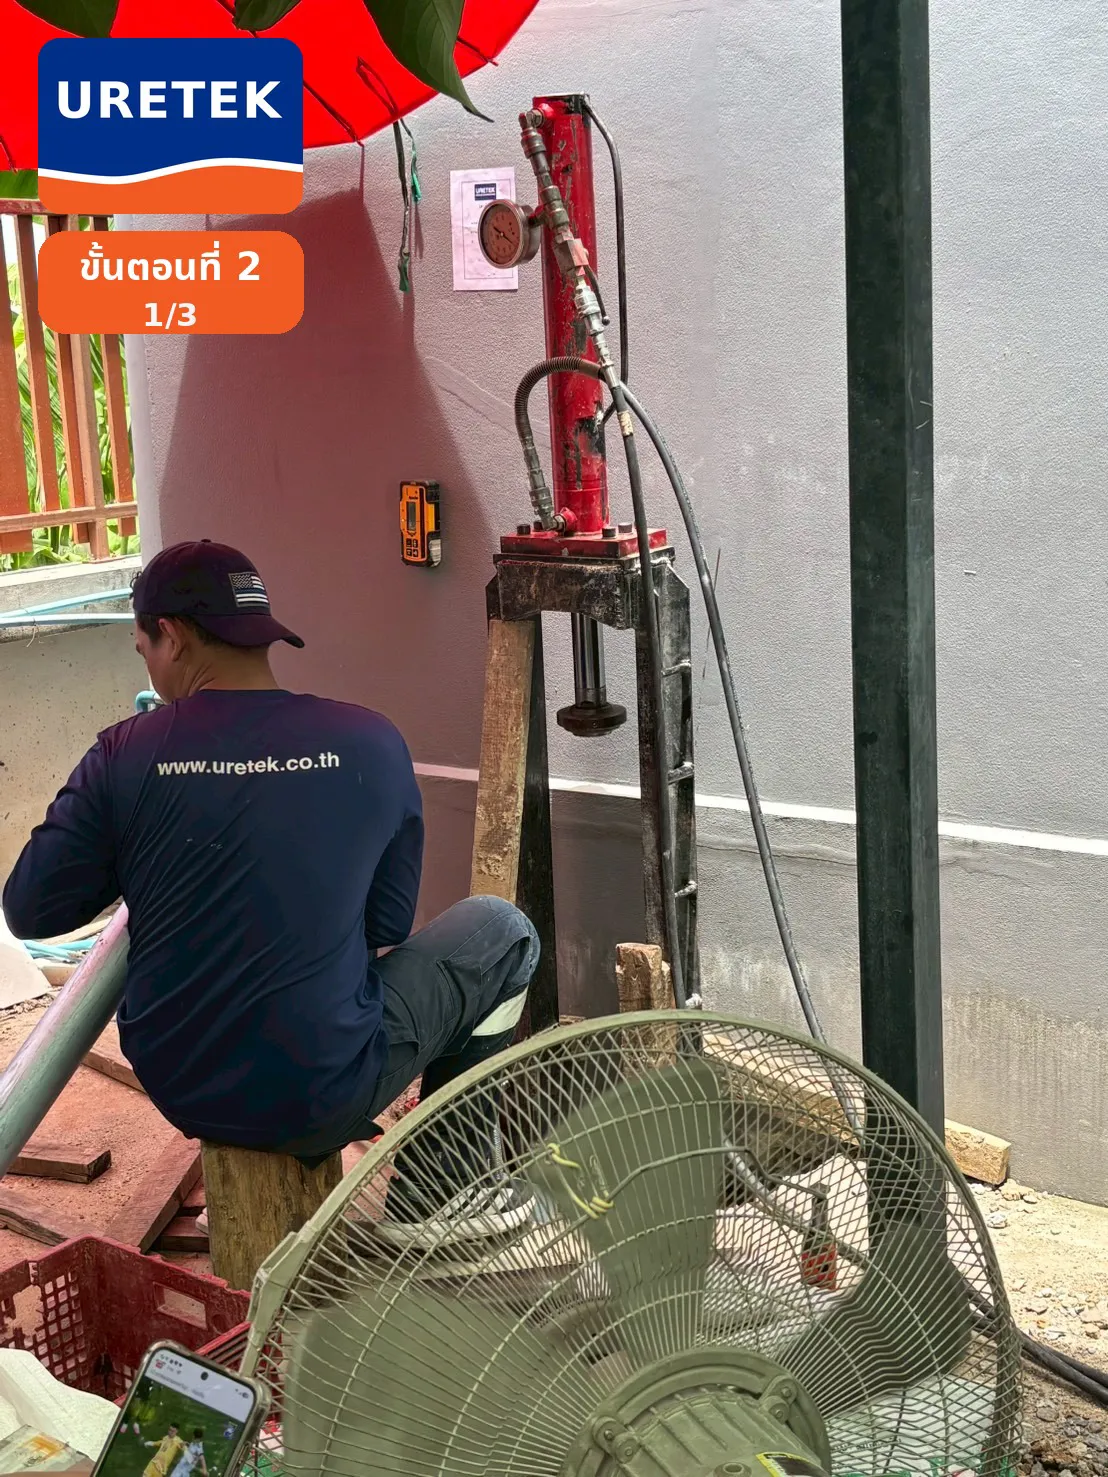
⚙️ Step 2 — Hydraulic Pile Driving
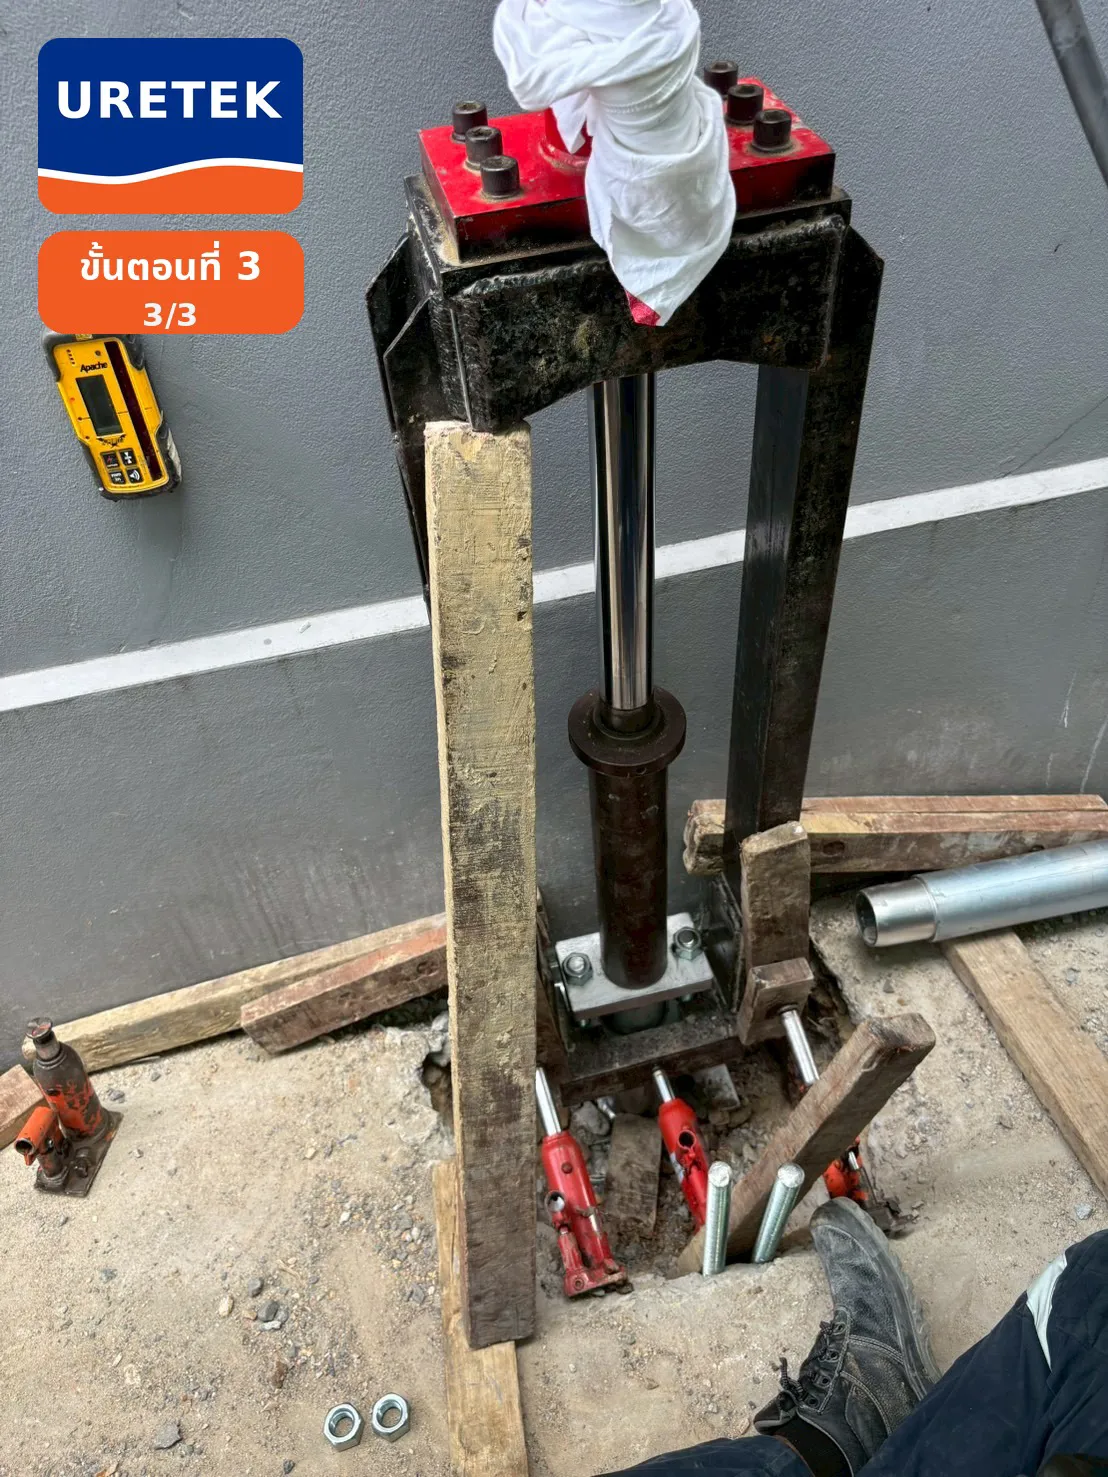
Install the hydraulic equipment and MicroPile assembly, then continuously drive them down section by section until they reach the soil layer capable of supporting the structural load. A pressure gauge monitors the pressure throughout the process.
📊 Step 3 — Control and Inspect Every Pile
The supervisor inspects the hydraulic pressure of every pile to confirm its load-bearing capacity as specified by the engineer. It's not just about "compressing it," but "achieving the required pressure" for every pile to pass.
🧱 Step 4 — Secure and Finish the Job
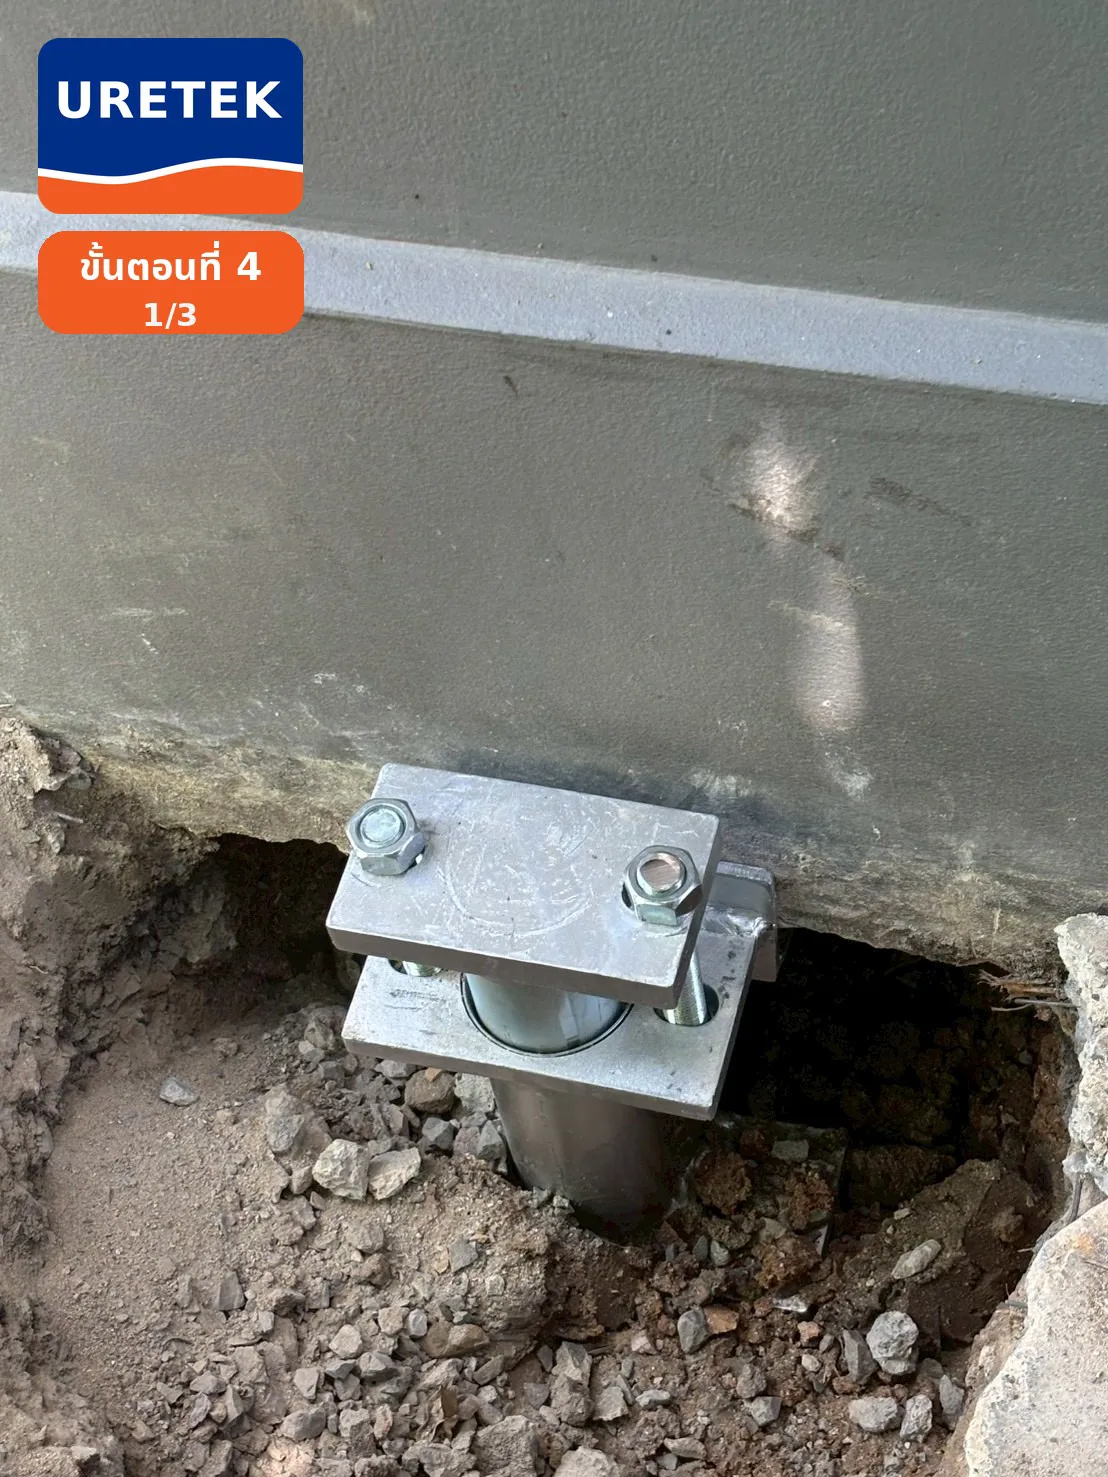
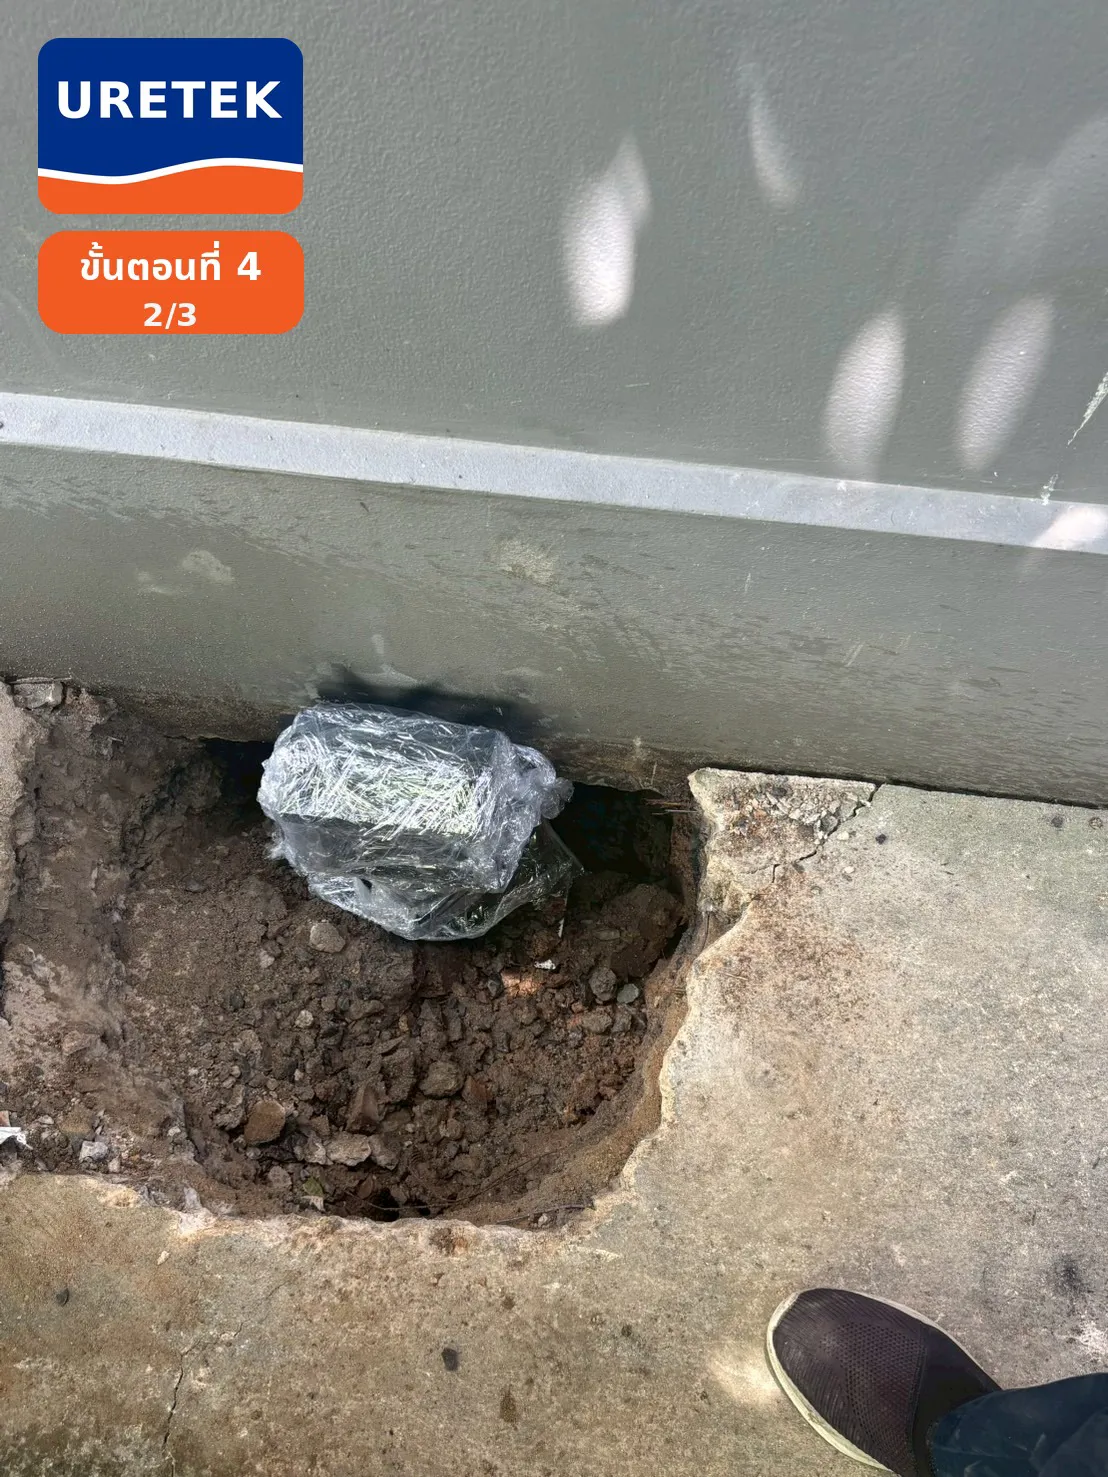
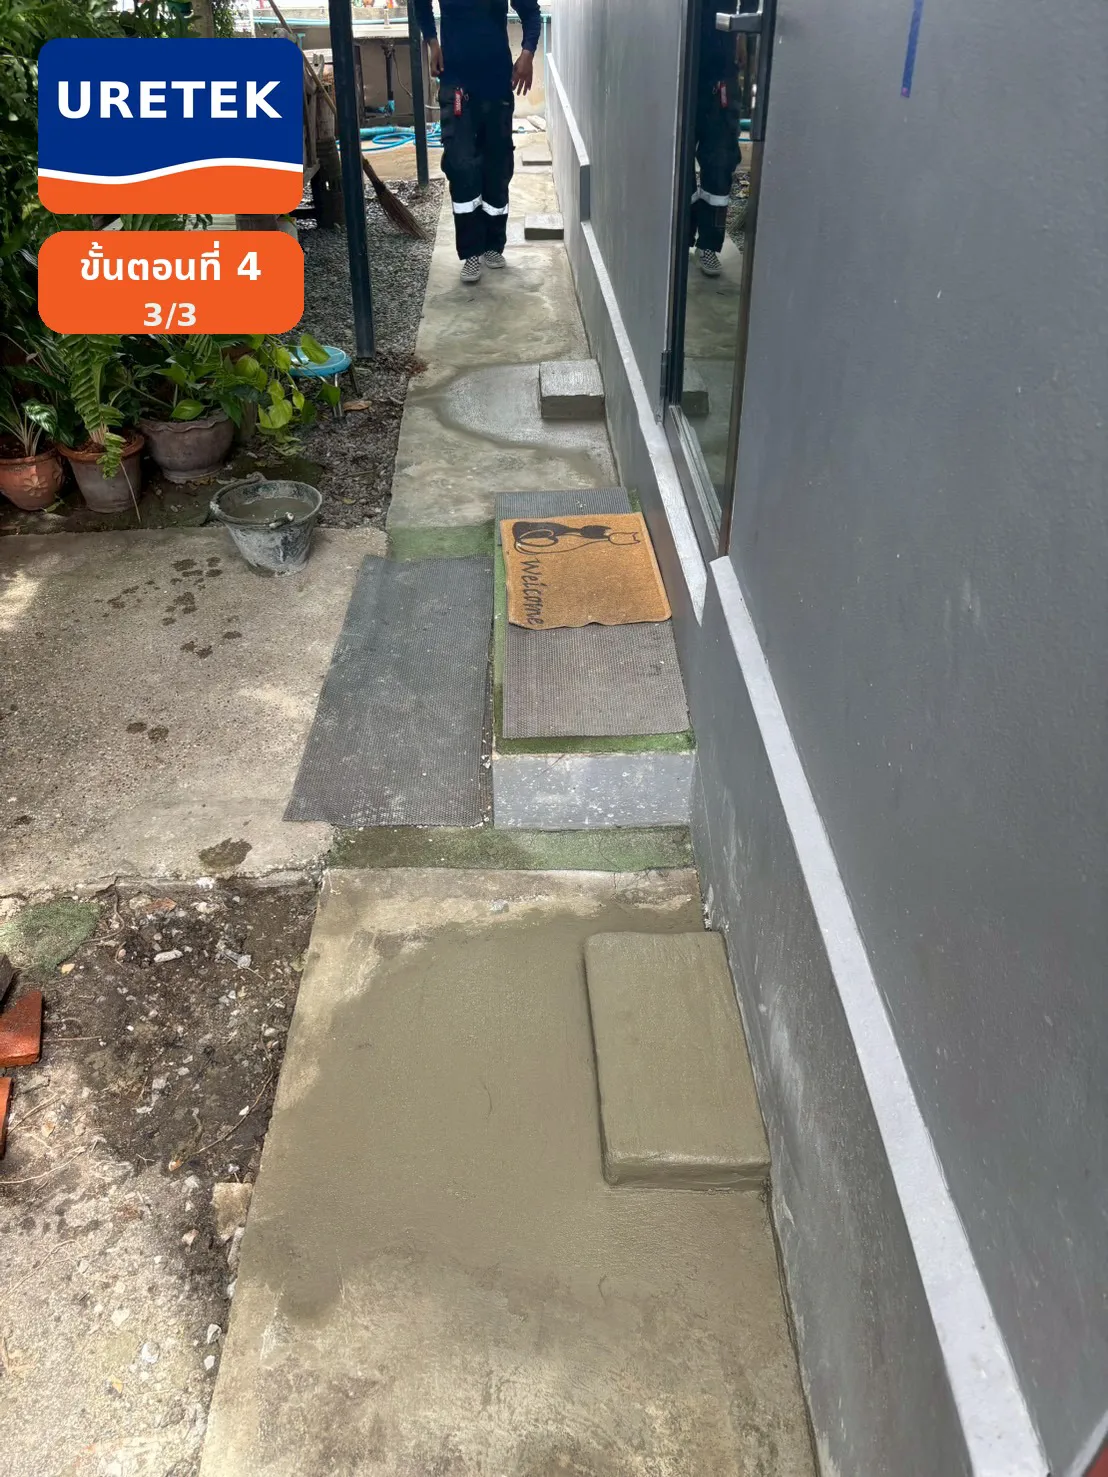
Once the required pressure is achieved, the team securely fastens the MicroPile to the support brackets before pouring concrete to finish the job, restoring the area to a ready-to-use condition.
Have a similar problem to solve?
Our engineers are ready for a free site assessment.